

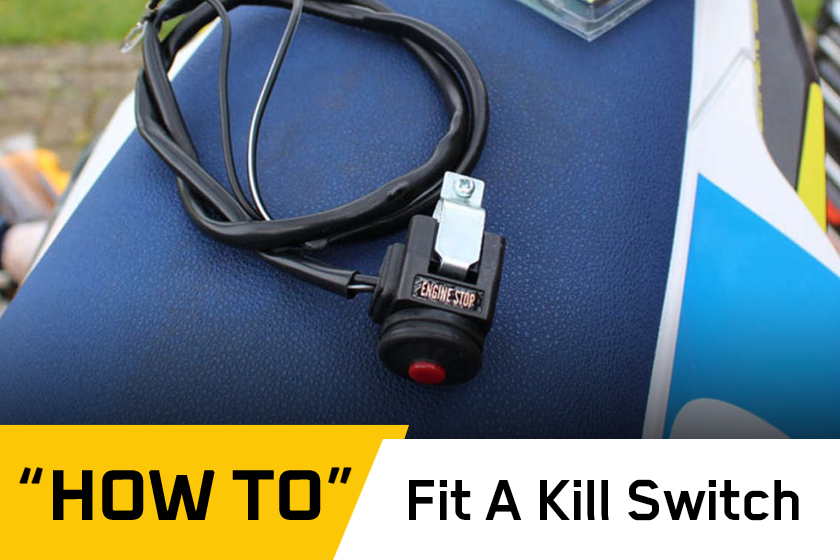
'How to' guide replacing a standard switch cluster for a basic, push button kill switch on our long term test Husqvarna FE 350.
Far from the most complex job you’ll ever do, this is a short ‘How to’ post running through the quick process of fitting a push button kill switch – in this case to our test mule Husqvarna FE 350.
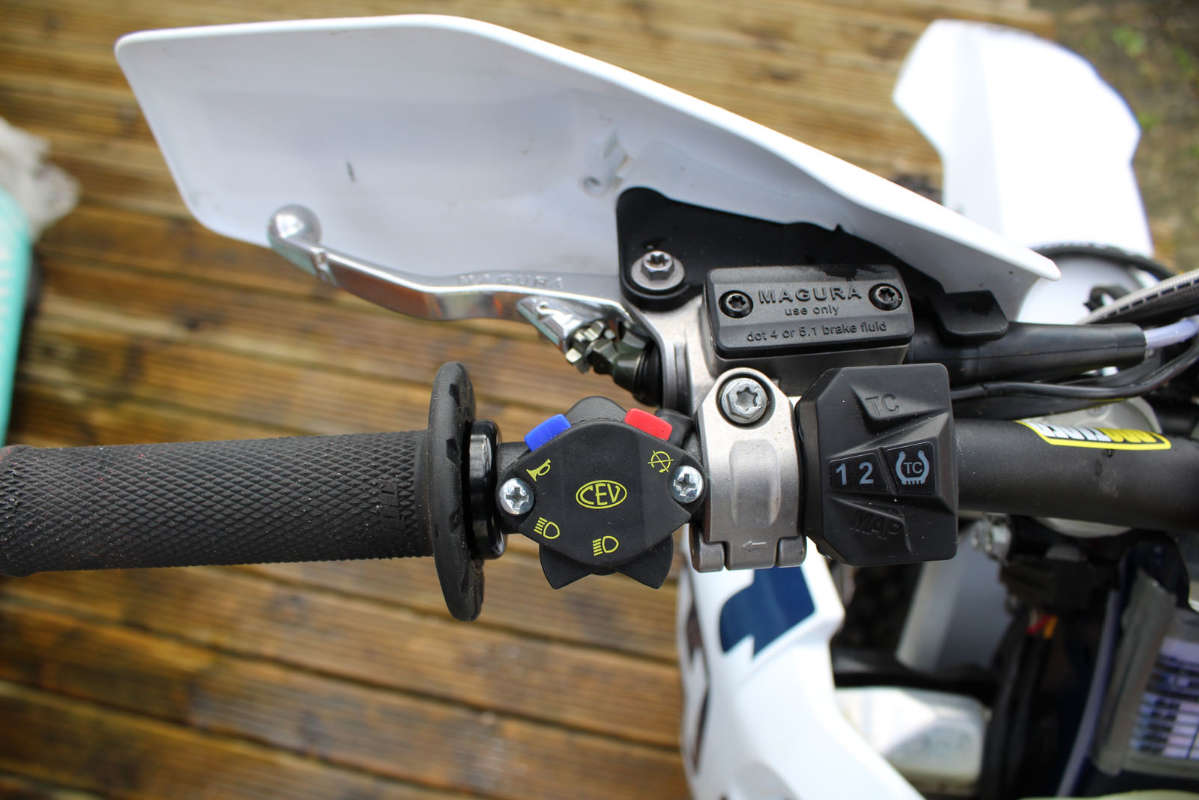
Why do it? The stock switch unit on the handlebars of the Husqvarna FE 350 is pretty big and vulnerable unit. It varies across different manufacturers as to exactly which switch unit you’ll find on the bars and how it is plugged in to the wiring of a bike but it is a fairly standard. It’s also the same on KTM models which are the most common off road motorcycle on the planet.
Cost: £10/€11/$12
Time taken: 30 mins max
Difficulty rating: 1 out of 5 (1 being easy/5 experienced mechanic)
Disclaimer alert: the standard switch unit is necessary for road use in some parts of the world, removing it removes the lighting system and therefore can mean your bike is not road legal. This 'how to' guide is intended for closed course use where the stock unit is unnecessary.
Quick fit
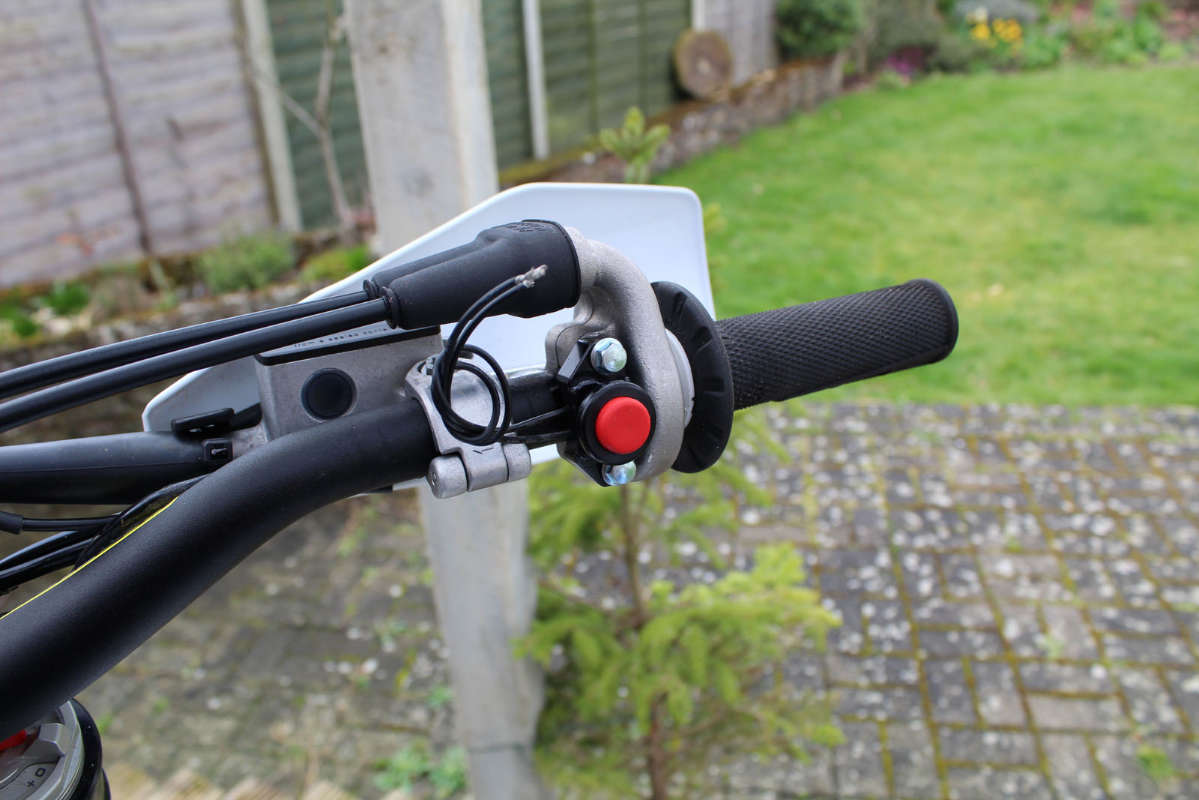
Replacement kill switches are readily available and most simple options are like the one we've fitted, a single red button type available from many outlets – we bought this one from a renowned parts supplier, Apico. I bought it purely because it is a ‘plug and play’ part and fits quickly and easily with only basic mechanical skill.
Other options are available including the neat Ride Engineering switch (below). There are a couple of options but this one cleverly bolts onto the stock throttle housing (with longer bolts supplied). The down side is it comes with bare wires so needs a trip to the nearest electrical store to extend the wires and some correct connectors to suit your bike.
Removing the standard switch cluster
The standard switch cluster simply clamps to the bars with two bolts and comes off in seconds. The front light needs unplugging and removing also to allow access to the connectors in front of the headstock.
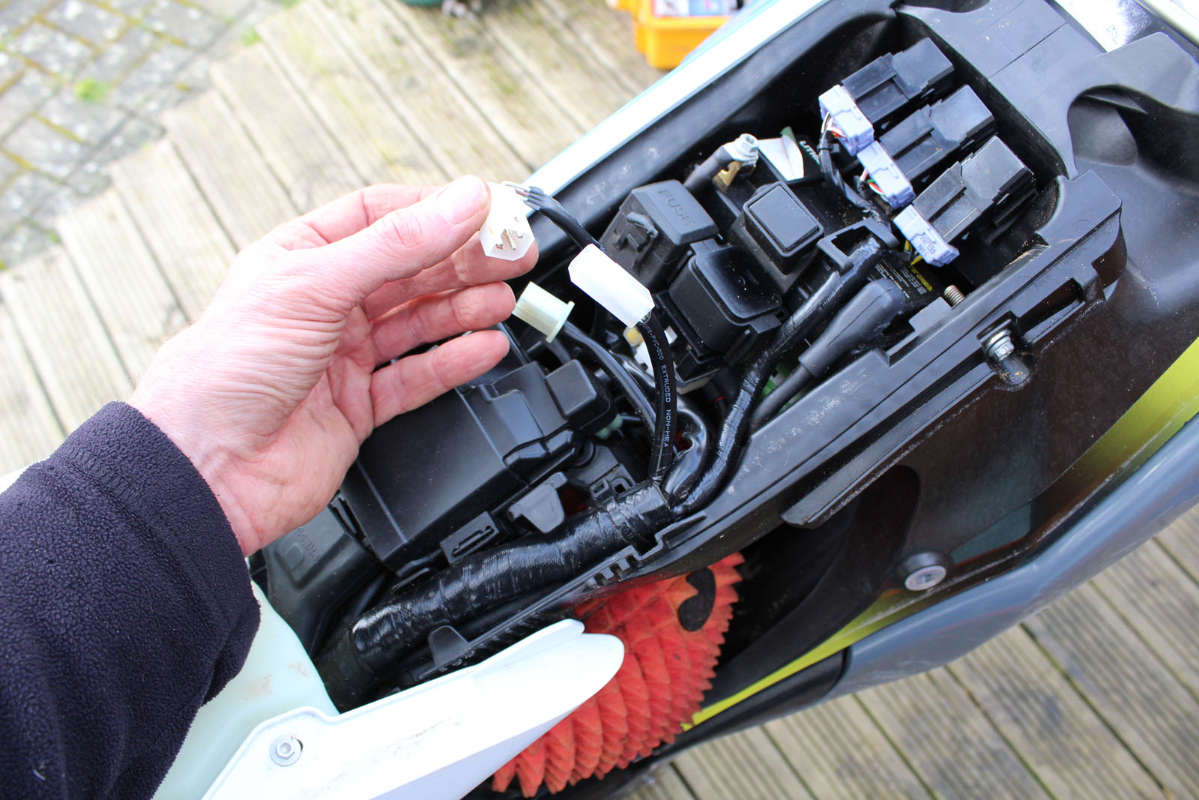
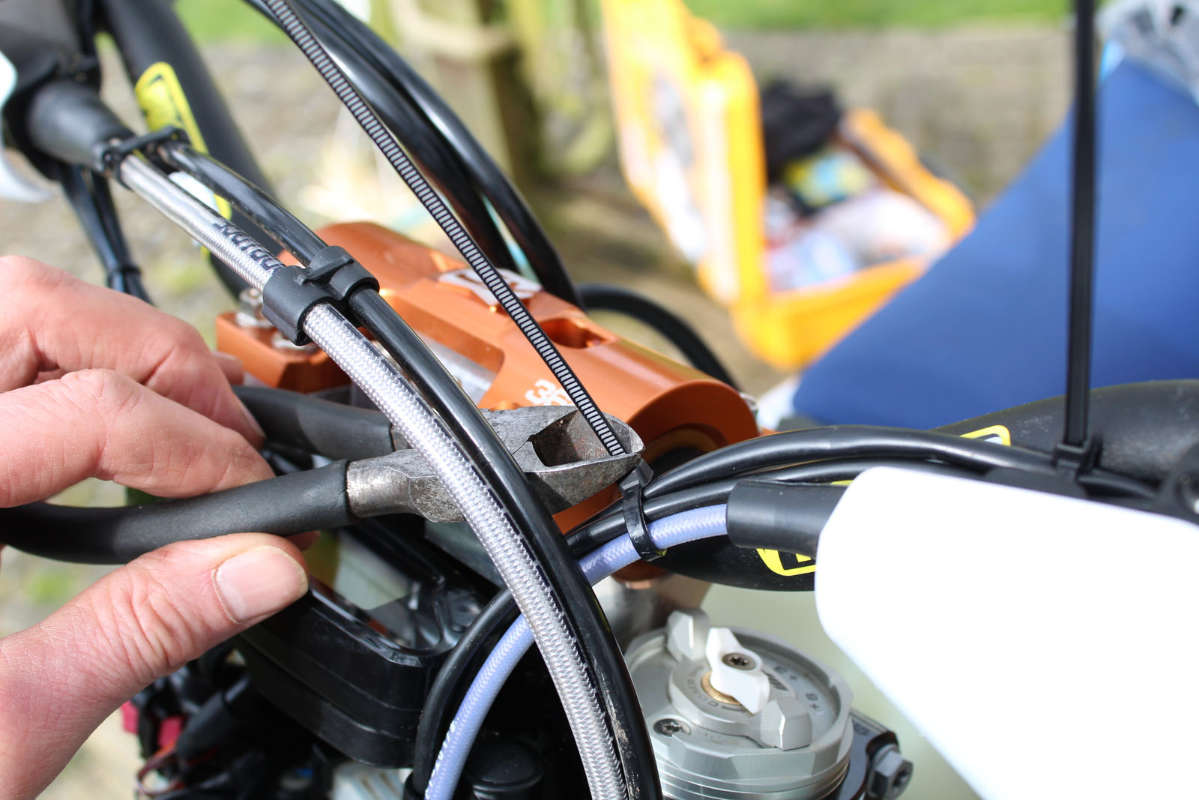
The wiring from the switch was cable-tied to the bars and needed cutting free. I left the rear wiring arriving from the rear light under the seat in place but unplugged it and put some tape on the connector end. Some people pack some silicone or grease in there to keep water out but beware you use electrical-friendly silicone or grease (dielectric grease). Some greases or silicones can conduct electricity and can help not hinder corrosion.
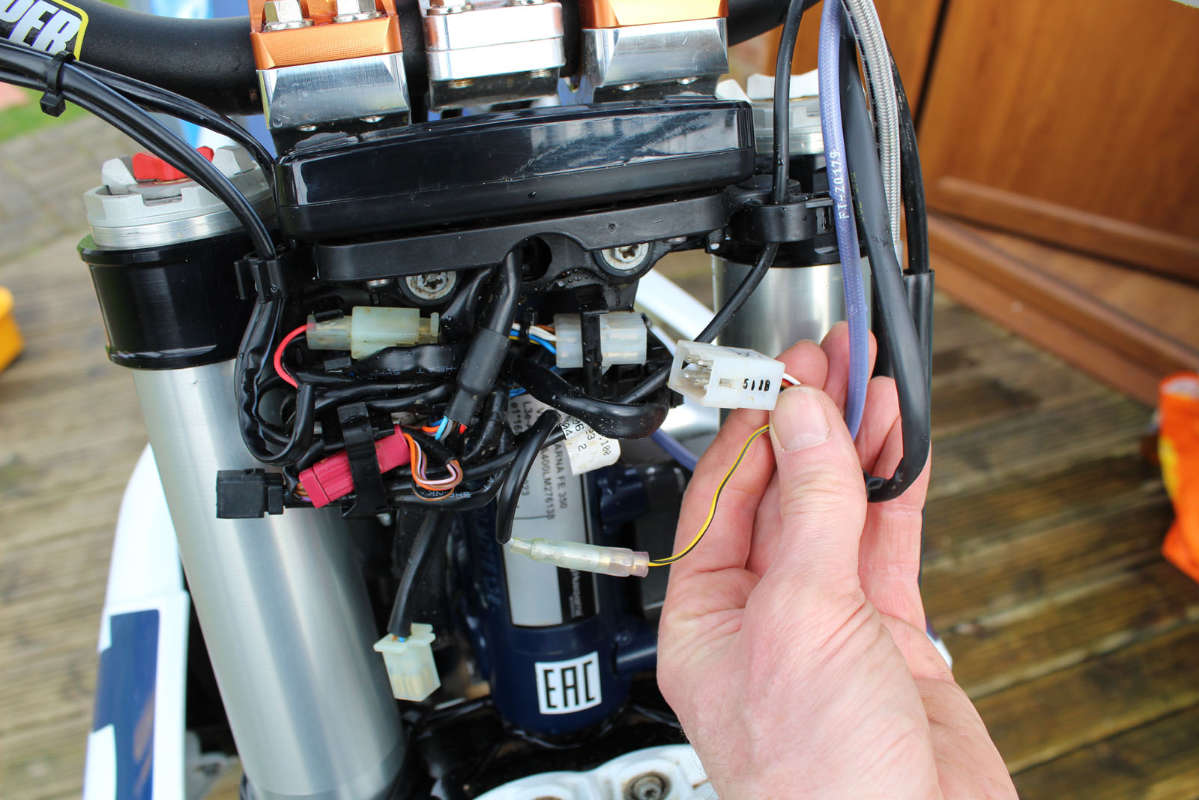
Disconnecting the lights on our bike is easy, trace the wiring from the light itself you’ll find a simple male/female connector which pulls apart. The front is located behind the headlight among the mass of wires arriving from different locations so make sure you get the correct one. The rear light connector on the Husqvarna is under the seat, as it is with many bikes.
Connecting the new kill switch
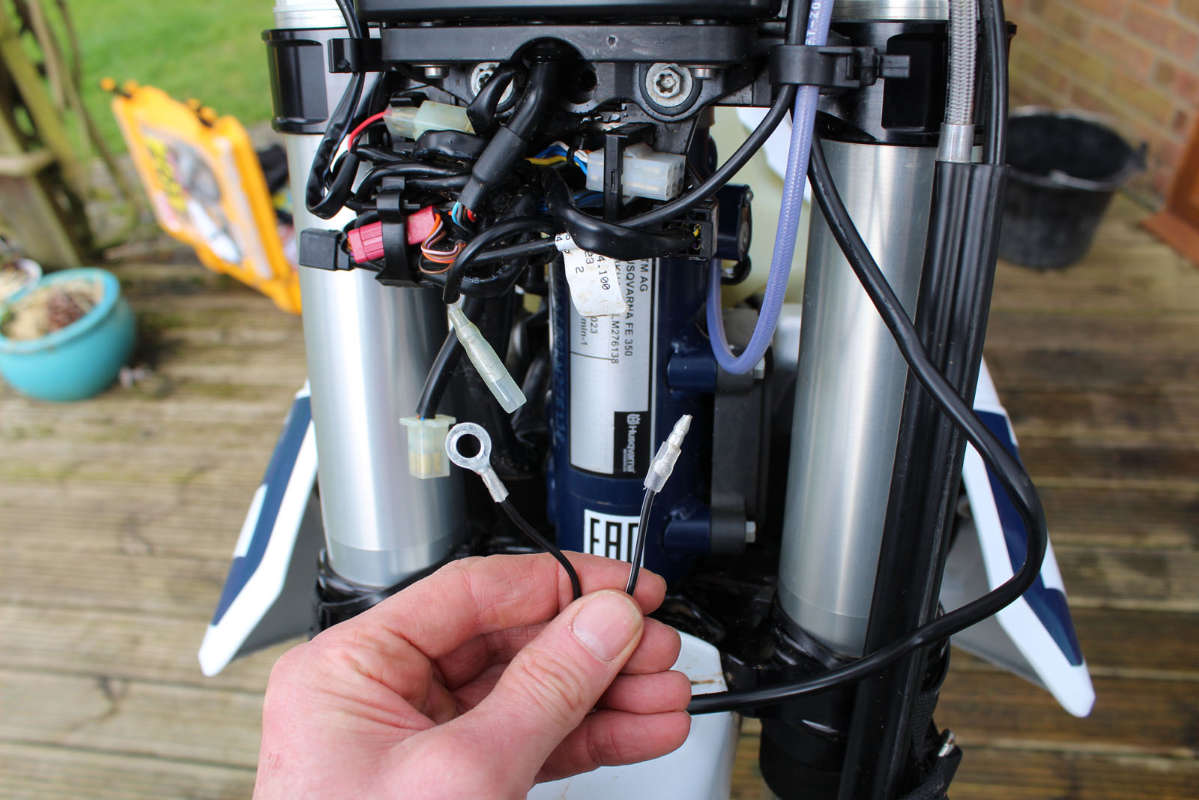
After mounting the kill switch on the handlebars in the position I wanted I traced the wiring down the same route the standard switch wiring took to the headstock. I chose this type of Kill switch because it is like for like male/female connector and so
The switch has an earth which needs connecting to a metal, non-live point within reach of the cable (some types earth themselves on the handlebars). On the FE 350 that is simple, I used the tacho/speedo mounting bolt which has an 8mm thread bolt which accepted the new kill switch earth perfectly.
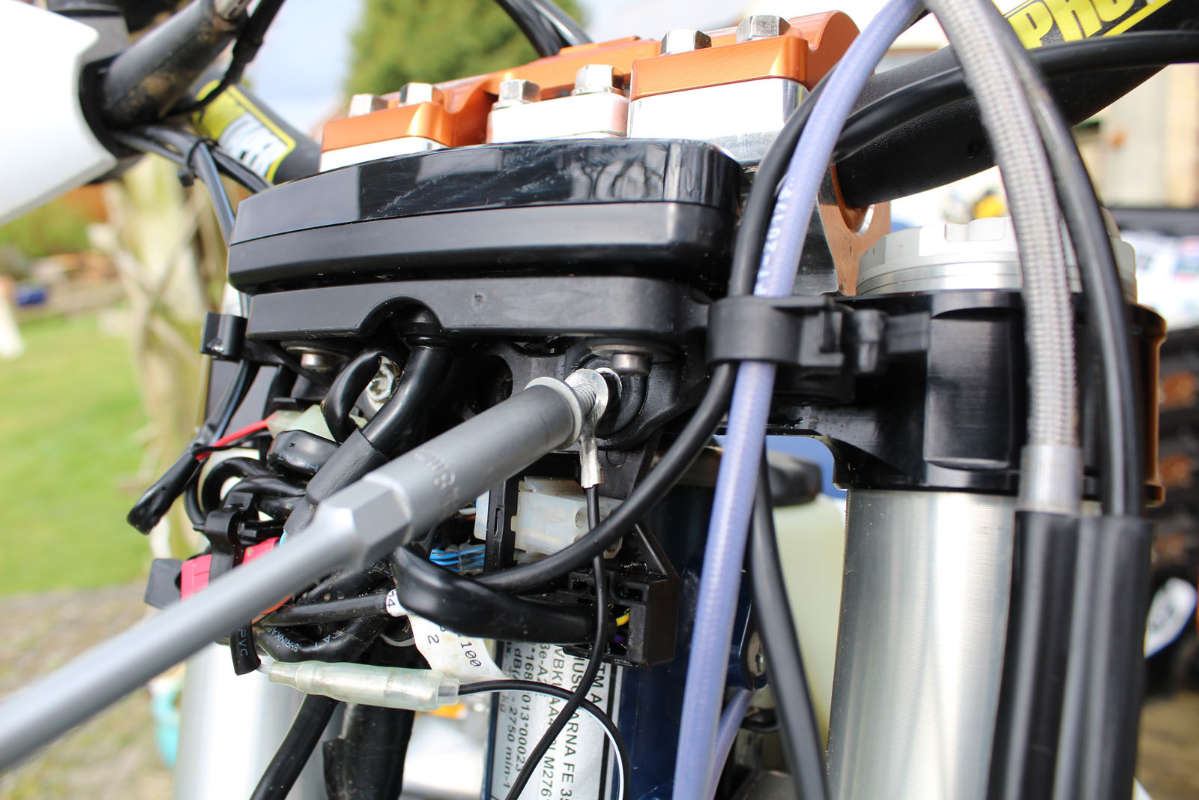
I traced the wiring exactly the same as the one I removed and used some zip ties to bring the wiring together and keep it neat. After that it was simply a matter of putting the headlight cowl back and checking everything was tight.
Some riders like to change around the starter button and kill switch on opposite sides of the bars because they find it easier to press the starter with the clutch hand thumb – some of the top extreme guys like Graham Jarvis do this.
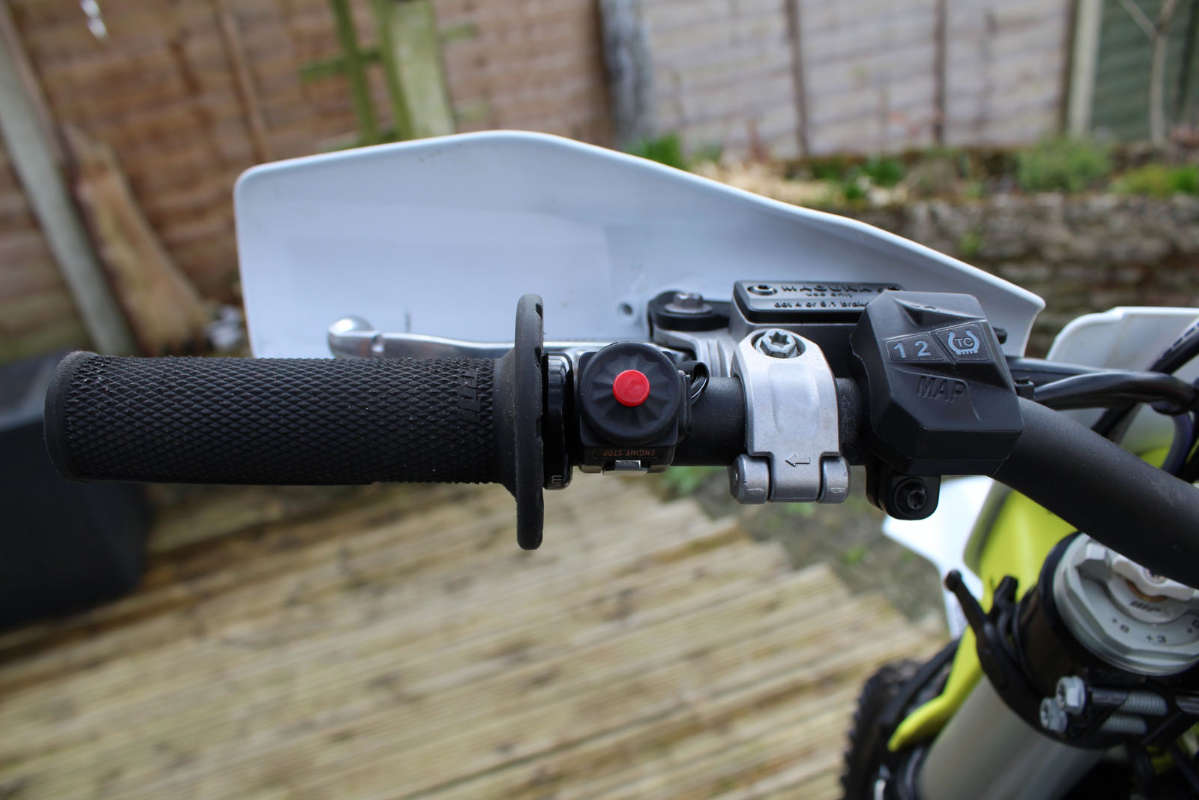
A bonus for me personally is the smaller kill switch option fitted here allows the clutch lever mount a bit more room and I was able to slide it a few millimetres along towards the end of the bars which feel more comfortable position for my clutch finger when riding.
Photo Credit: Enduro21
You may also like..
Game-changer or gimmick – Ducati's adaptive maintenance system explored and explained
Five minutes with: Canadian enduro ace Shelby Turner - the next world champion in the making?
First look: Ducati Desmo450 EDS breaks cover loaded with clever tech
Industry News

Dunlop to support club riders at 100th ISDE with prize-packed Geomax Challenge

100 years of ISDE merch available now
Rieju start work on new Spanish factory to support model expansion and international growth plans
KTM extends Moto-Master racing partnership into 2026
ACU plugs into electric future with new battery-powered bike sport panel
Most Popular

2027 World Rally-Raid Championship calendar confirmed with revised schedule
The List: Complete 2026 International Enduro Events Calendar
Bikes of the 2021 Dakar Rally
Pro Bike: How Graham Jarvis sets up his Husqvarna TE 300i
First look: Taddy Blazusiak’s new GASGAS EC 300
Featured Videos

Watch the Red Bull Erzbergrodeo 2026 main race live
Video test review of the 2026 Suzuki DR-Z 4S Dual Sport
Testing Every 2026 KTM Enduro Model at KTM Off-Road Experience

Adventure Unleashed – Red Bull Romaniacs 2025 on an ADV Bike (feat. Enduro21)