
Enduro21’s step-by-step guide to removing and fitting Off-Road footpegs – what tools to use, simple techniques and a ‘safe-as-houses’ lock-wiring video…
Replacing original equipment footrests on off-road bikes is a common aftermarket upgrade. As one of the major points of contact on a bike, footpegs or footrests are a part we should pay equal attention to as much as bars, grips and levers.
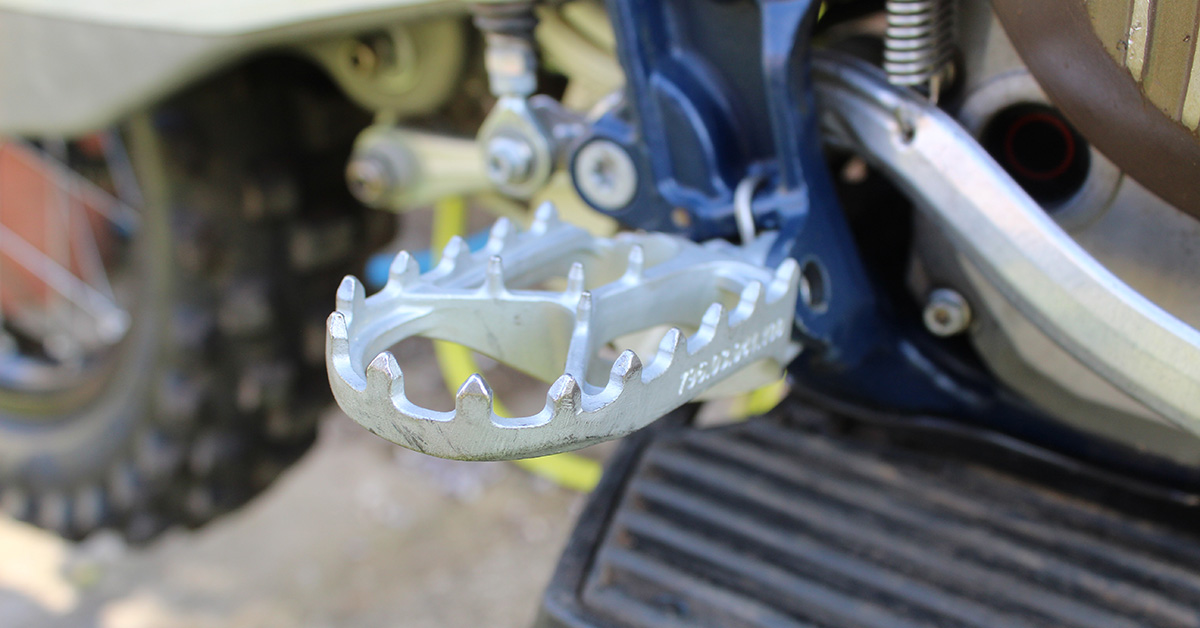
Footpegs are a component you can change and adjust to suit riding conditions, your height or preferences. Aftermarket footpegs can be stronger, grippier or lighter and built from materials like titanium. They also allow a change of position – higher, lower or further back – which can dramatically affect how your bike handles and feels to ride.
Our ‘How to’ guide is designed to help with the process of changing footrests, which is a short workshop task and does not require many tools. But there are a few tips of the trade that make life easier. We’ve also included a sweet video on how to lockwire pegs for extra assurance!
Removal process
Put some gloves on firstly, you’ll thank us for it later. Before you do anything else take a photo on your phone so you can check-back how it all fits together, which way up the spring goes and so on.
Take note: this whole process requires some care because footrest springs can be pretty loaded and have been known to fly upwards when you remove the pin. So, be certain NOT to have your head/face over the footrest while you remove the pin and spring, ideally wear eye protection.
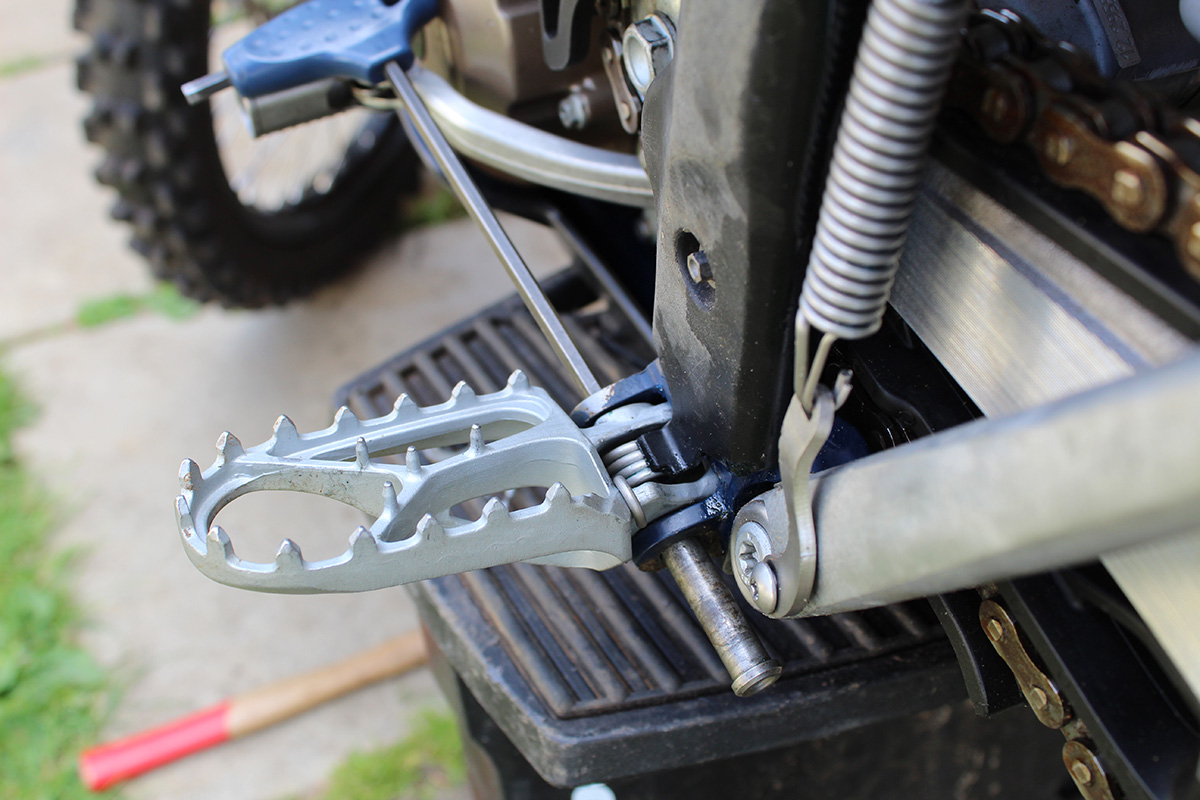
With a clean bike, the first step is to bend back the split pin fingers and remove the split pin, then pull through which allows the washer to be removed and kept safe. Discard the old split pin.
The next step is to remove the main pin holding the footpeg and spring in place. There are different methods for this but essentially the technique is to hold the footpeg and spring with one hand while pushing the pin out with the other.
Holding the footrest with one hand you should be able to push down the top, accessible side of the spring with your thumb to release pressure on the pin. If your hands are strong enough, you should be able to simply push the pin out but there’s an easier way…
Old tools have their uses
Common practice in many workshops is to use an old crosshead screwdriver (we used an old T-bar allen key, which works the same) to push the pin out. Whichever tool you use, it should be smaller diameter than the footpeg pin so it can push all the way through and replace the pin in situ (so the footpeg stays on, albeit looser).
That makes the spring less tense and easier to remove – some bikes and footpeg manufacturers have more or less aggressive springs, some also have a sleeve inside the spring, too.
The technique of holding the footrest and pushing the spring down with your thumb releases tension enough for the pin to ‘float’ out. That can mean adjusting the angle of the footpeg slightly as well with a ‘wiggle’. Make a note of the direction the pin fits through.
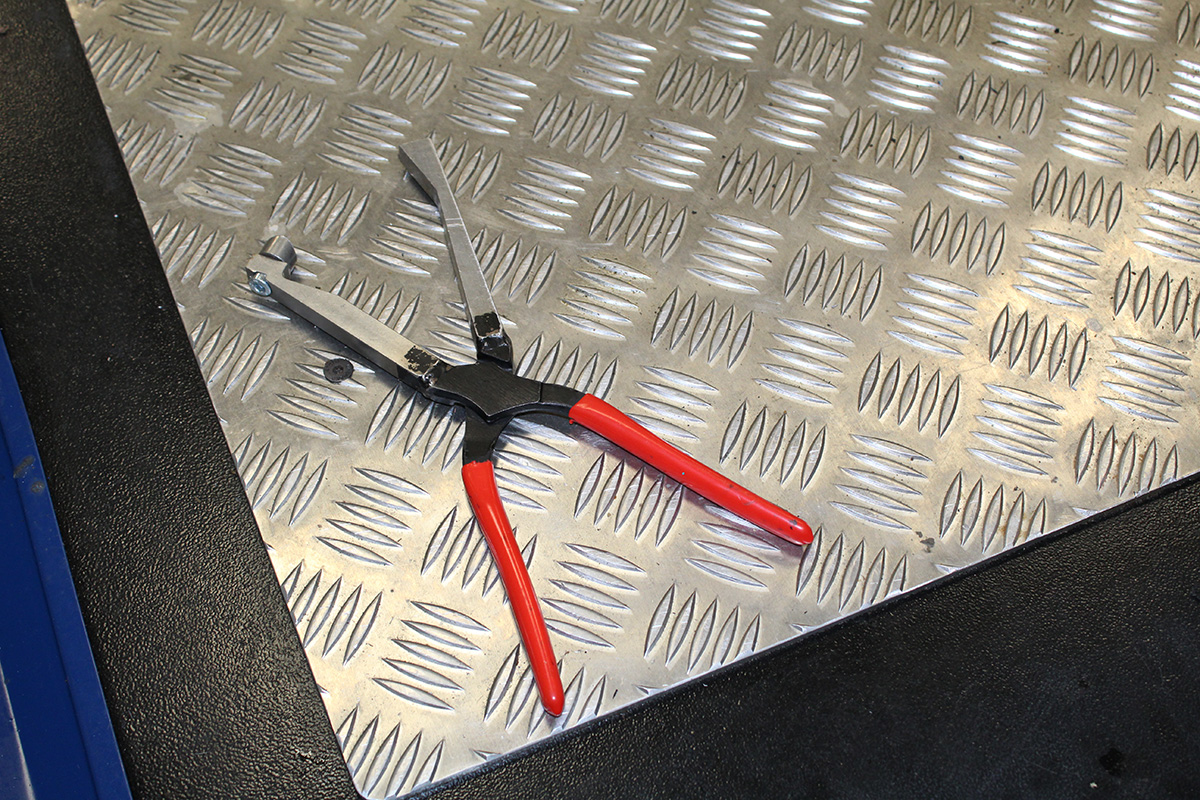
Not included in the tool list (because we don’t own one) is the specific footrest installation tool. It works by holding the spring in place, allowing you to push the pin through more easily.
Refitting the footpegs
While the footpeg is off, give the area a good clean and visual check for cracks, damage or excessive wear to the footrest hanger on the frame.
In our experience this is definitely one of those jobs where the refit is harder than the removal. It is a case of doing the reverse of removing the footpeg, but life isn’t always that easy!
Make sure you have all the parts and any tools to hand before you begin. If you are fitting replacement pegs, before you start check all parts fit including the pin diameter, check you have the correct spring and how it locates, plus that you have a washer and new split pin ready. Oh, and make sure you have right and left footpegs sorted for the correct sides.
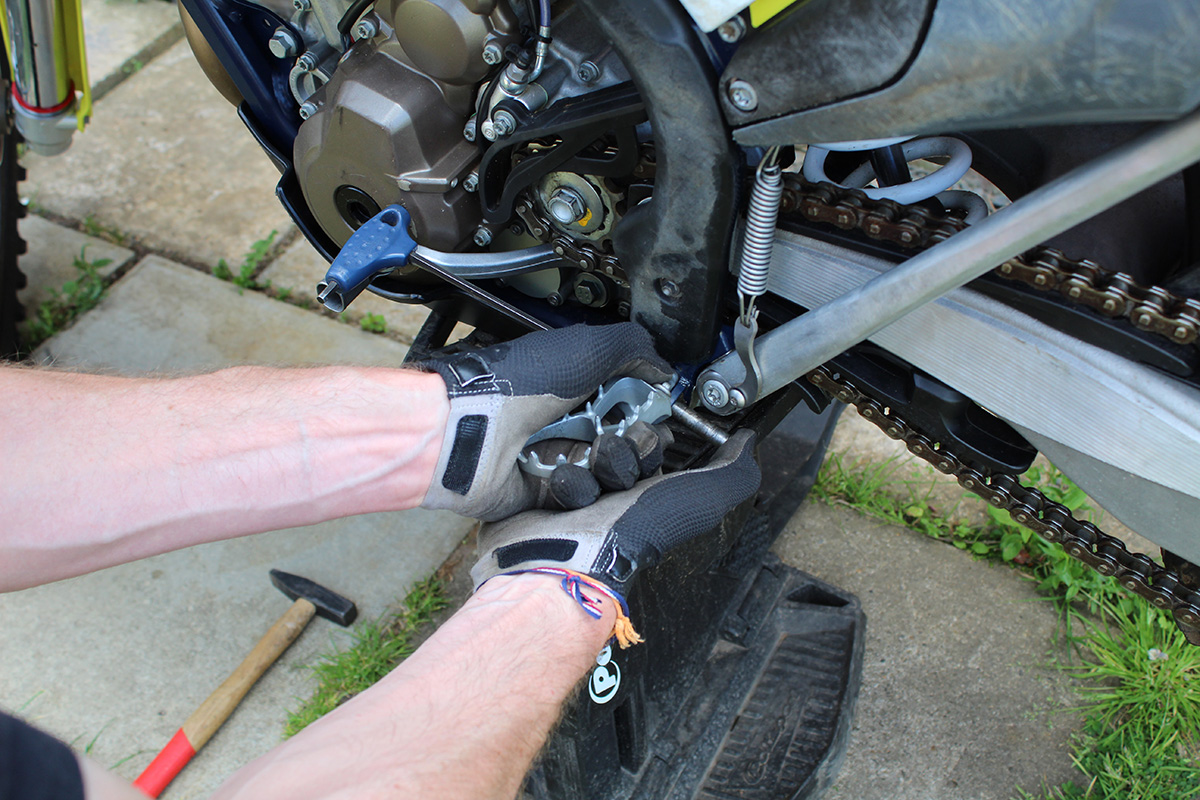
When ready, locate the spring loosely in the footrest and marry it inside the frame hanger making sure you have it the correct way around. You need strong hands (or the footrest tool mentioned earlier) to push down on the top side of the spring enough to feed the screwdriver (or other tool) through the frame/footrest/spring and out the other side.
Make sure you do it the opposite direction to how the pin will install. Again, do not have you face over the spring while you do this. The footpeg should be in place at this point but loose.
Next step is to locate the footpeg pin on the end of the tool you’ve used. Hold the footpeg firmly, you will need to wiggle it, and have a thumb on the spring top as you push the pin through in a swift and positive fashion. The pin will effectively replace the tool as you push it through.
This process can go in stages as the pin arrives at the frame hanger, then tries to locate through the first hole entering the footrest, the spring, the other side of the footpeg and so on.
Strong hands are needed to hold the footpeg, with thumb pushing down on the spring top, while your other hand pushes the pin through. A constant, strong pressure on the pin should see it fly through when you get things lined-up. With the pin in place, fit a washer and new split pin.
Want to be extra safe? Some factory teams lockwire footrests in place – check our short video guide…
https://www.facebook.com/enduro21official/videos/2607075792850620/
A note on footrest pin direction
This is an area we’ve discussed on social media with Enduro21 followers previously and it is fair to say there are different schools of thought! Our personal preference is to install the pins downwards on both sides of the bike.
The reason for that is if the split pin fails, the washer falls off, but it does not mean the footrest pin falls out and, importantly, you can keep riding. If you’ve ever had a pin fall out and had no footrest to stand on, you’ll know how rubbish this is.
KTM and Husqvarna push the pin upwards on the left side to avoid the side stand fouling the split pin and washer (it can damage the split pin). We prefer to put them downwards and then check the split pin regularly where the stand can foul.
Tools used:
- This is the short list of tools used plus a couple of options depending on what you have in the toolbox. What bike you own may mean slight differences.
- Pliers for removing the split pin
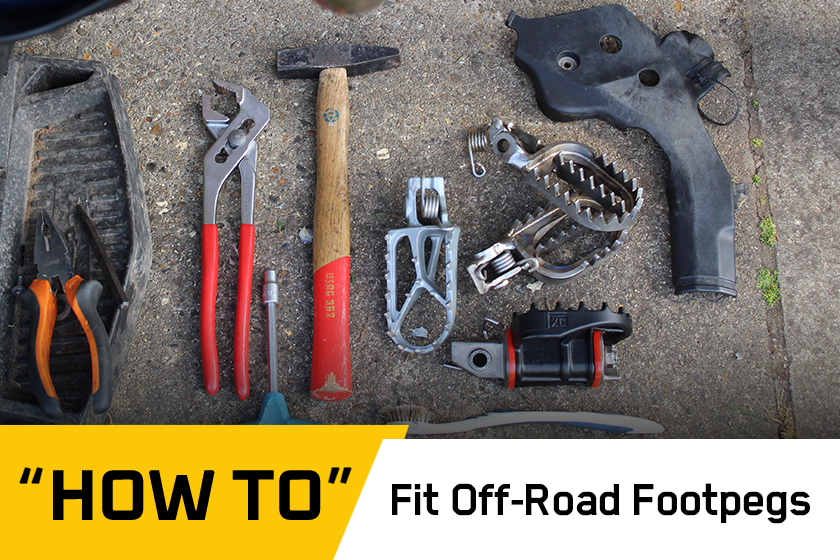
- Hammer and punch (or similar ‘old’ tool) to push the pin out. It can be an old crosshead screwdriver, a T-bar allen key or a centre punch. Having a longer item with a handle makes it easier. Whatever it is, make sure it is smaller bore than the peg pin. You may not need the hammer (shown) but a gentle tap can help removing and installing the pin while you wiggle the pegs position.
- A footrest hanger tool if preferred.
- A set of gloves and some eye protection are recommended.
- Other tools needed on our long-term test mule, Husqvarna FE350, include an 8mm T-bar for removing the frame protectors plus new cable ties for refitting. The old toothbrush is for cleaning dirt out the footpegs, the mount, behind the frame protector etc.
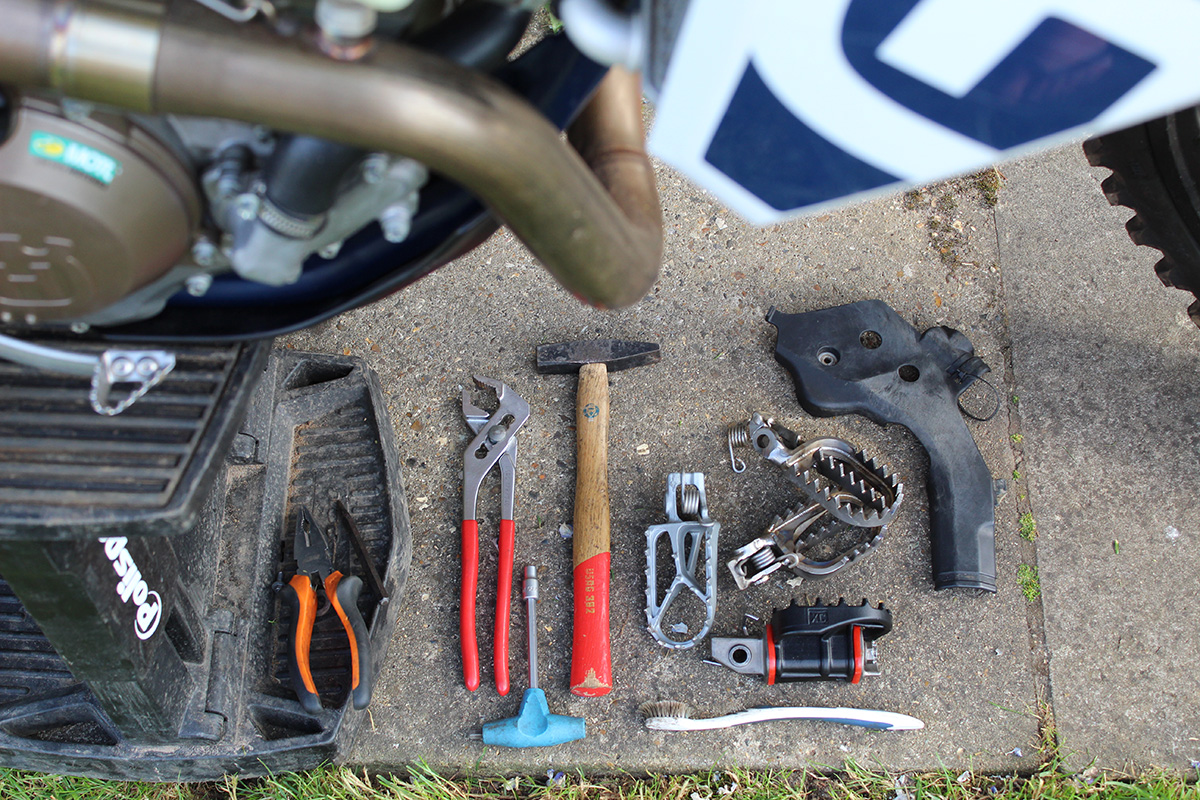
Photo and Video Credit: Enduro21
You may also like..
Game-changer or gimmick – Ducati's adaptive maintenance system explored and explained

Five minutes with: Canadian enduro ace Shelby Turner - the next world champion in the making?
First look: Ducati Desmo450 EDS breaks cover loaded with clever tech
Industry News

Dunlop to support club riders at 100th ISDE with prize-packed Geomax Challenge

100 years of ISDE merch available now
Rieju start work on new Spanish factory to support model expansion and international growth plans
KTM extends Moto-Master racing partnership into 2026
ACU plugs into electric future with new battery-powered bike sport panel
Most Popular
2027 World Rally-Raid Championship calendar confirmed with revised schedule
The List: Complete 2026 International Enduro Events Calendar
Bikes of the 2021 Dakar Rally
Pro Bike: How Graham Jarvis sets up his Husqvarna TE 300i
First look: Taddy Blazusiak’s new GASGAS EC 300
Featured Videos
Watch the Red Bull Erzbergrodeo 2026 main race live
Video test review of the 2026 Suzuki DR-Z 4S Dual Sport
Testing Every 2026 KTM Enduro Model at KTM Off-Road Experience

Adventure Unleashed – Red Bull Romaniacs 2025 on an ADV Bike (feat. Enduro21)